How to Make the Perfect Gluten Free Bread
How to Make the Perfect Gluten Free Bread
Gluten-free bread is a delicious and healthy alternative for those with gluten intolerance or celiac disease. Making the perfect gluten-free bread at home can seem challenging, but with the right ingredients and techniques, you can achieve a delightful loaf that everyone will enjoy. In this article, we will guide you through the process of how to make the perfect gluten-free bread in simple and easy-to-follow steps.
Understanding Gluten-Free Ingredients
 Before we dive into the recipe, it’s important to understand the ingredients that will replace traditional wheat flour. Gluten-free flours vary in taste and texture, so using a blend is often the best way to achieve a good result. Here are some common gluten-free flours:
- Almond Flour: Adds moisture and a nutty flavor.
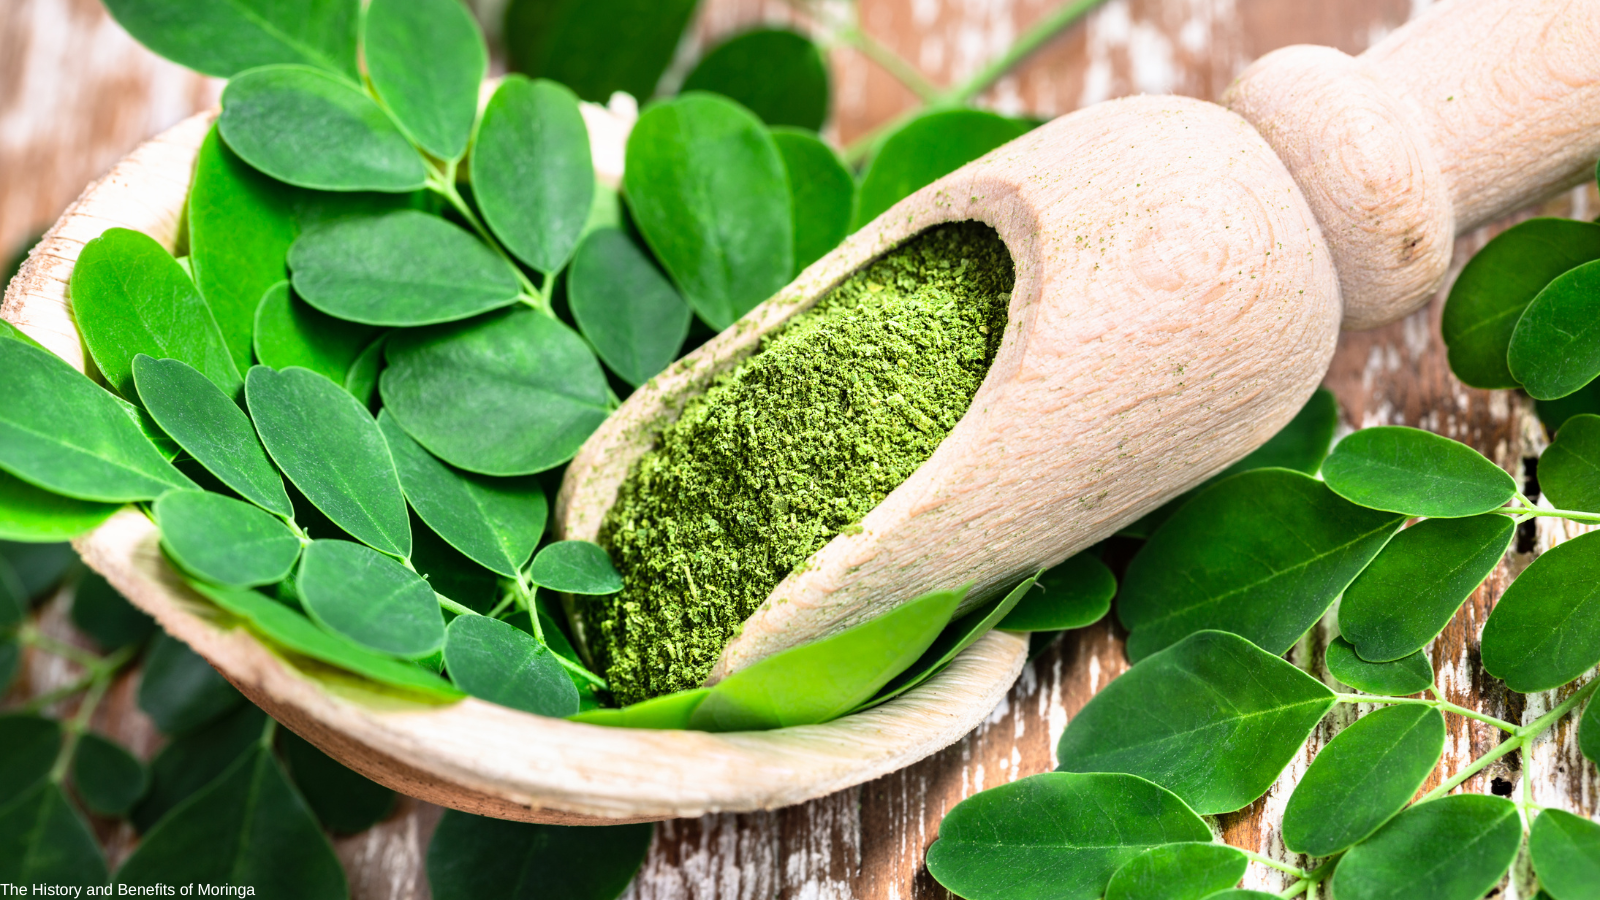
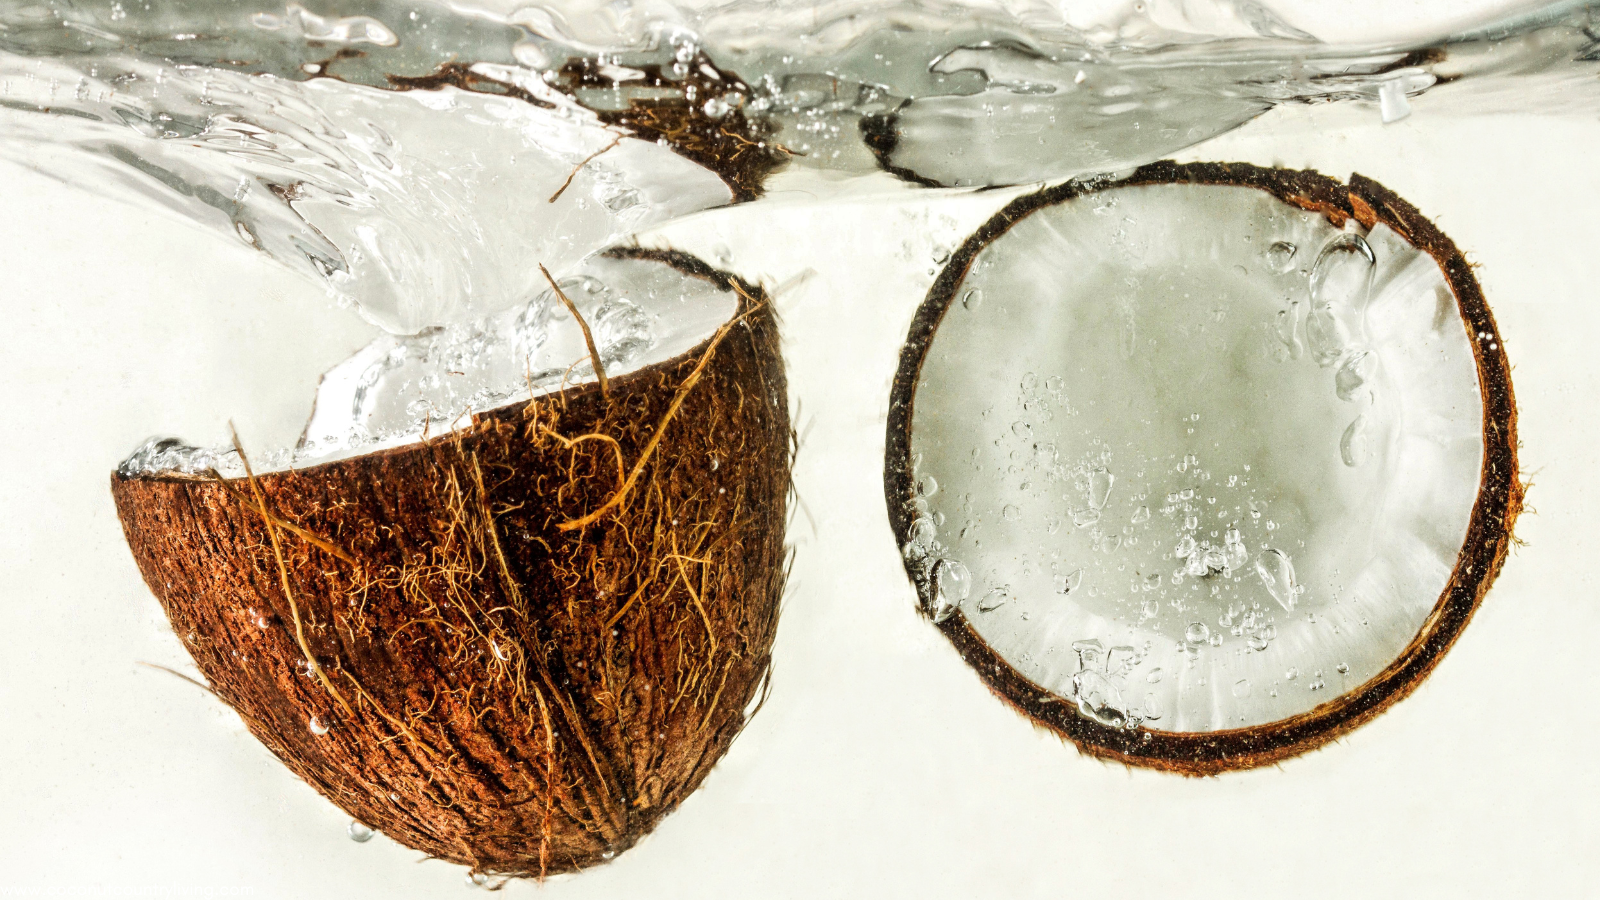
- Coconut Flour: Absorbs a lot of moisture; use it sparingly.
- Rice Flour: A staple in gluten-free baking, offers a neutral taste.
- Sorghum Flour: Adds a mild sweetness and is high in protein.
- Oat Flour: Great for texture; ensure it’s certified gluten-free.
Essential Ingredients for Gluten-Free Bread
- 2 cups gluten-free all-purpose flour blend
- 1 cup warm water (about 110°F)
- 1 tablespoon sugar or honey
- 1 tablespoon active dry yeast
- 1 tablespoon olive oil or melted coconut oil
- 1 teaspoon salt
- 1 teaspoon apple cider vinegar or lemon juice
Step-by-Step Guide to Making Gluten Free Bread
 Step 1: Activate the Yeast
In a small bowl, combine the warm water, sugar, and active dry yeast. Stir gently and let it sit for about 5-10 minutes until it becomes frothy.
Step 2: Mix the Dry Ingredients
In a large mixing bowl, whisk together your gluten-free flour blend and salt to ensure even distribution.
Step 3: Combine Wet Ingredients
Once the yeast mixture is frothy, add the olive oil and apple cider vinegar (or lemon juice) to the mixture. Stir well.
Step 4: Form the Dough
Pour the wet ingredients into the bowl with the dry ingredients. Mix thoroughly using a wooden spoon or a stand mixer.
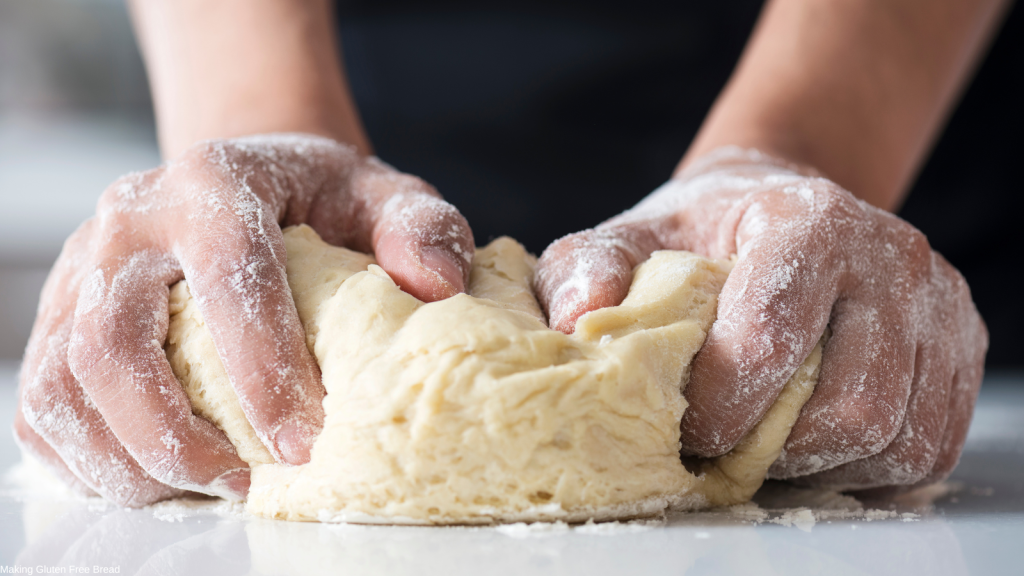
Step 5: Knead the Dough
Knead gently for about 5 minutes on a floured surface using extra gluten-free flour.
Step 6: Let the Dough Rise
Place the dough in a greased bowl and let it rise for about 1-2 hours until it doubles in size.
Step 7: Shape the Loaf
Punch the dough down gently and shape it into a loaf before placing it in a greased 9×5-inch loaf pan.
Step 8: Second Rise
Let the loaf rise for another 30-60 minutes.
Step 9: Preheat the Oven
Preheat your oven to 375°F (190°C).
Step 10: Bake the Bread
Bake for about 30-35 minutes, or until the top is golden brown.
Step 11: Cool and Slice
Let the bread cool in the pan for 10 minutes before transferring to a wire rack to cool completely.
Tips for Storing Gluten Free Bread
Store in an airtight container at room temperature for up to 3 days, or slice and freeze for longer storage.
Conclusion
Now that you know how to make the perfect gluten-free bread, you can enjoy homemade, delicious loaves that cater to your dietary needs. Happy baking!
Related Posts